
The polar grid template came about through a request from my mom – a common theme with the craft supplies and tools I design. She wanted a tool to help her with the design process when making tatted lace. Designers often deal with cupping, ruffling, or other problems with their lace laying flat, and this template helps see where the issues are.
Several solutions already exist, though none quite fit my mom’s needs. Quilting templates are almost always a square grid, and paper templates aren’t durable enough. She wanted a waterproof, durable, and portable tool. Given that she designs a wide variety of motifs, she also would likely need several different versions.

The initial problem
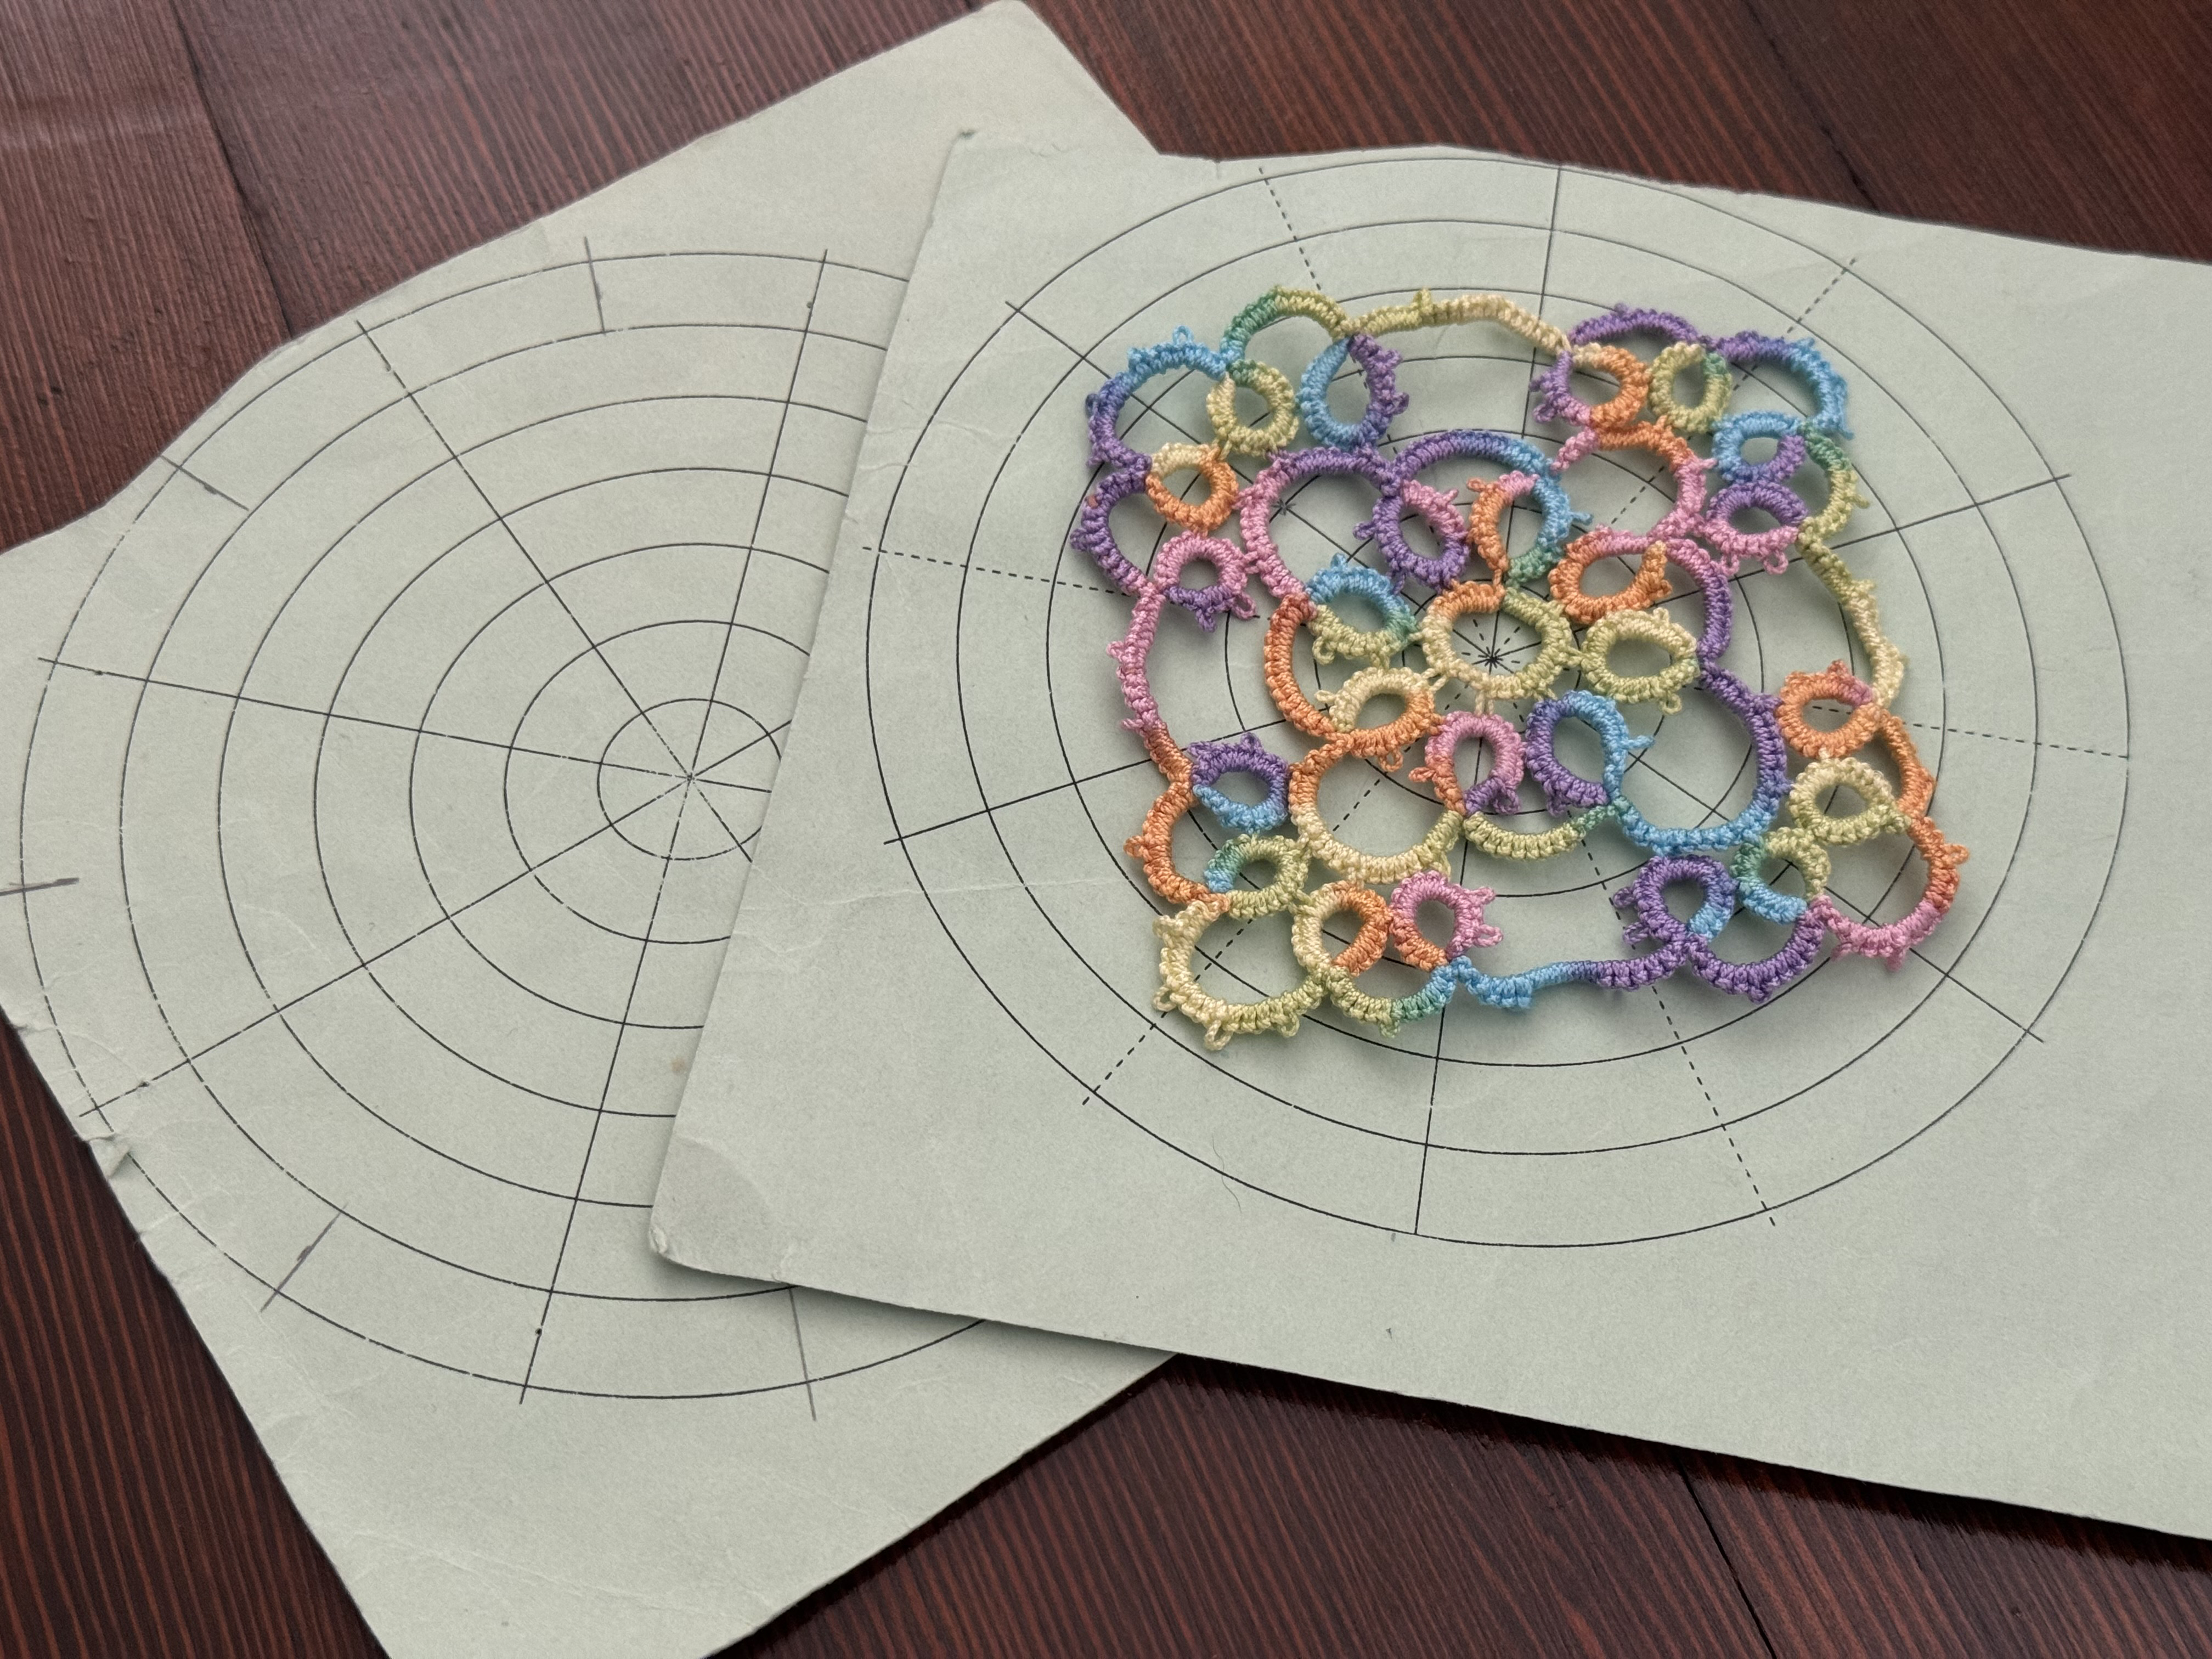
My mom used paper polar grid templates printed on our inkjet and laserjet printers for a very long time. These worked well enough, but they were often too small and she had to frequently reprint them. Even with heavy card stock, they would crease, tear, fade, and otherwise be unusable. She also lost them several times since they were far too easy to slip into a notebook or binder and forget about them.
She identified these issues that she wanted me to solve:
- The template had to be durable enough to be thrown into a project bag and carried around.
- It had to be waterproof, so she could block her lace designs on top of it without ink bleeding into the thread.
- The grid needed varying numbers of radial rays, depending on the number of repetitions in her design.
- The template had to be large enough to fit her larger designs.
My 3D printers have a maximum size of roughly 8″ x 8″, so I knew that would be the maximum diameter of the template. She said that would be more than adequate, and it’s also a nice size to fit in the mini tote bags we picked up recently to use as crafting project bags.
The first prototype

I made the first template a 12-ray grid, since my mom’s current active design project had 12 repetitions. Initially, she asked for the major grid lines (circular lines) to be at 1″ intervals, and the minor grid lines at 1/2″. I decided to make these different colors using the color change feature of my 3D printing software. This pauses the 3D print at a specific layer and allows me to change the color the printer is using.
By planning out the layering in the 3D model itself, I can create many interesting effects. In this case, I started with black for the bottom of the template, changed to light gray for the minor grid lines, and finished with white.
Somehow I accidentally made the major grid lines at 1/2″ intervals when creating the 3D model, and didn’t realize it until after I’d printed the first prototype. When I handed it to my mom, she actually thought it would work better, so we decided to stick with it. She also liked how I used color to help distinguish between the major and minor grid lines.
Revisions
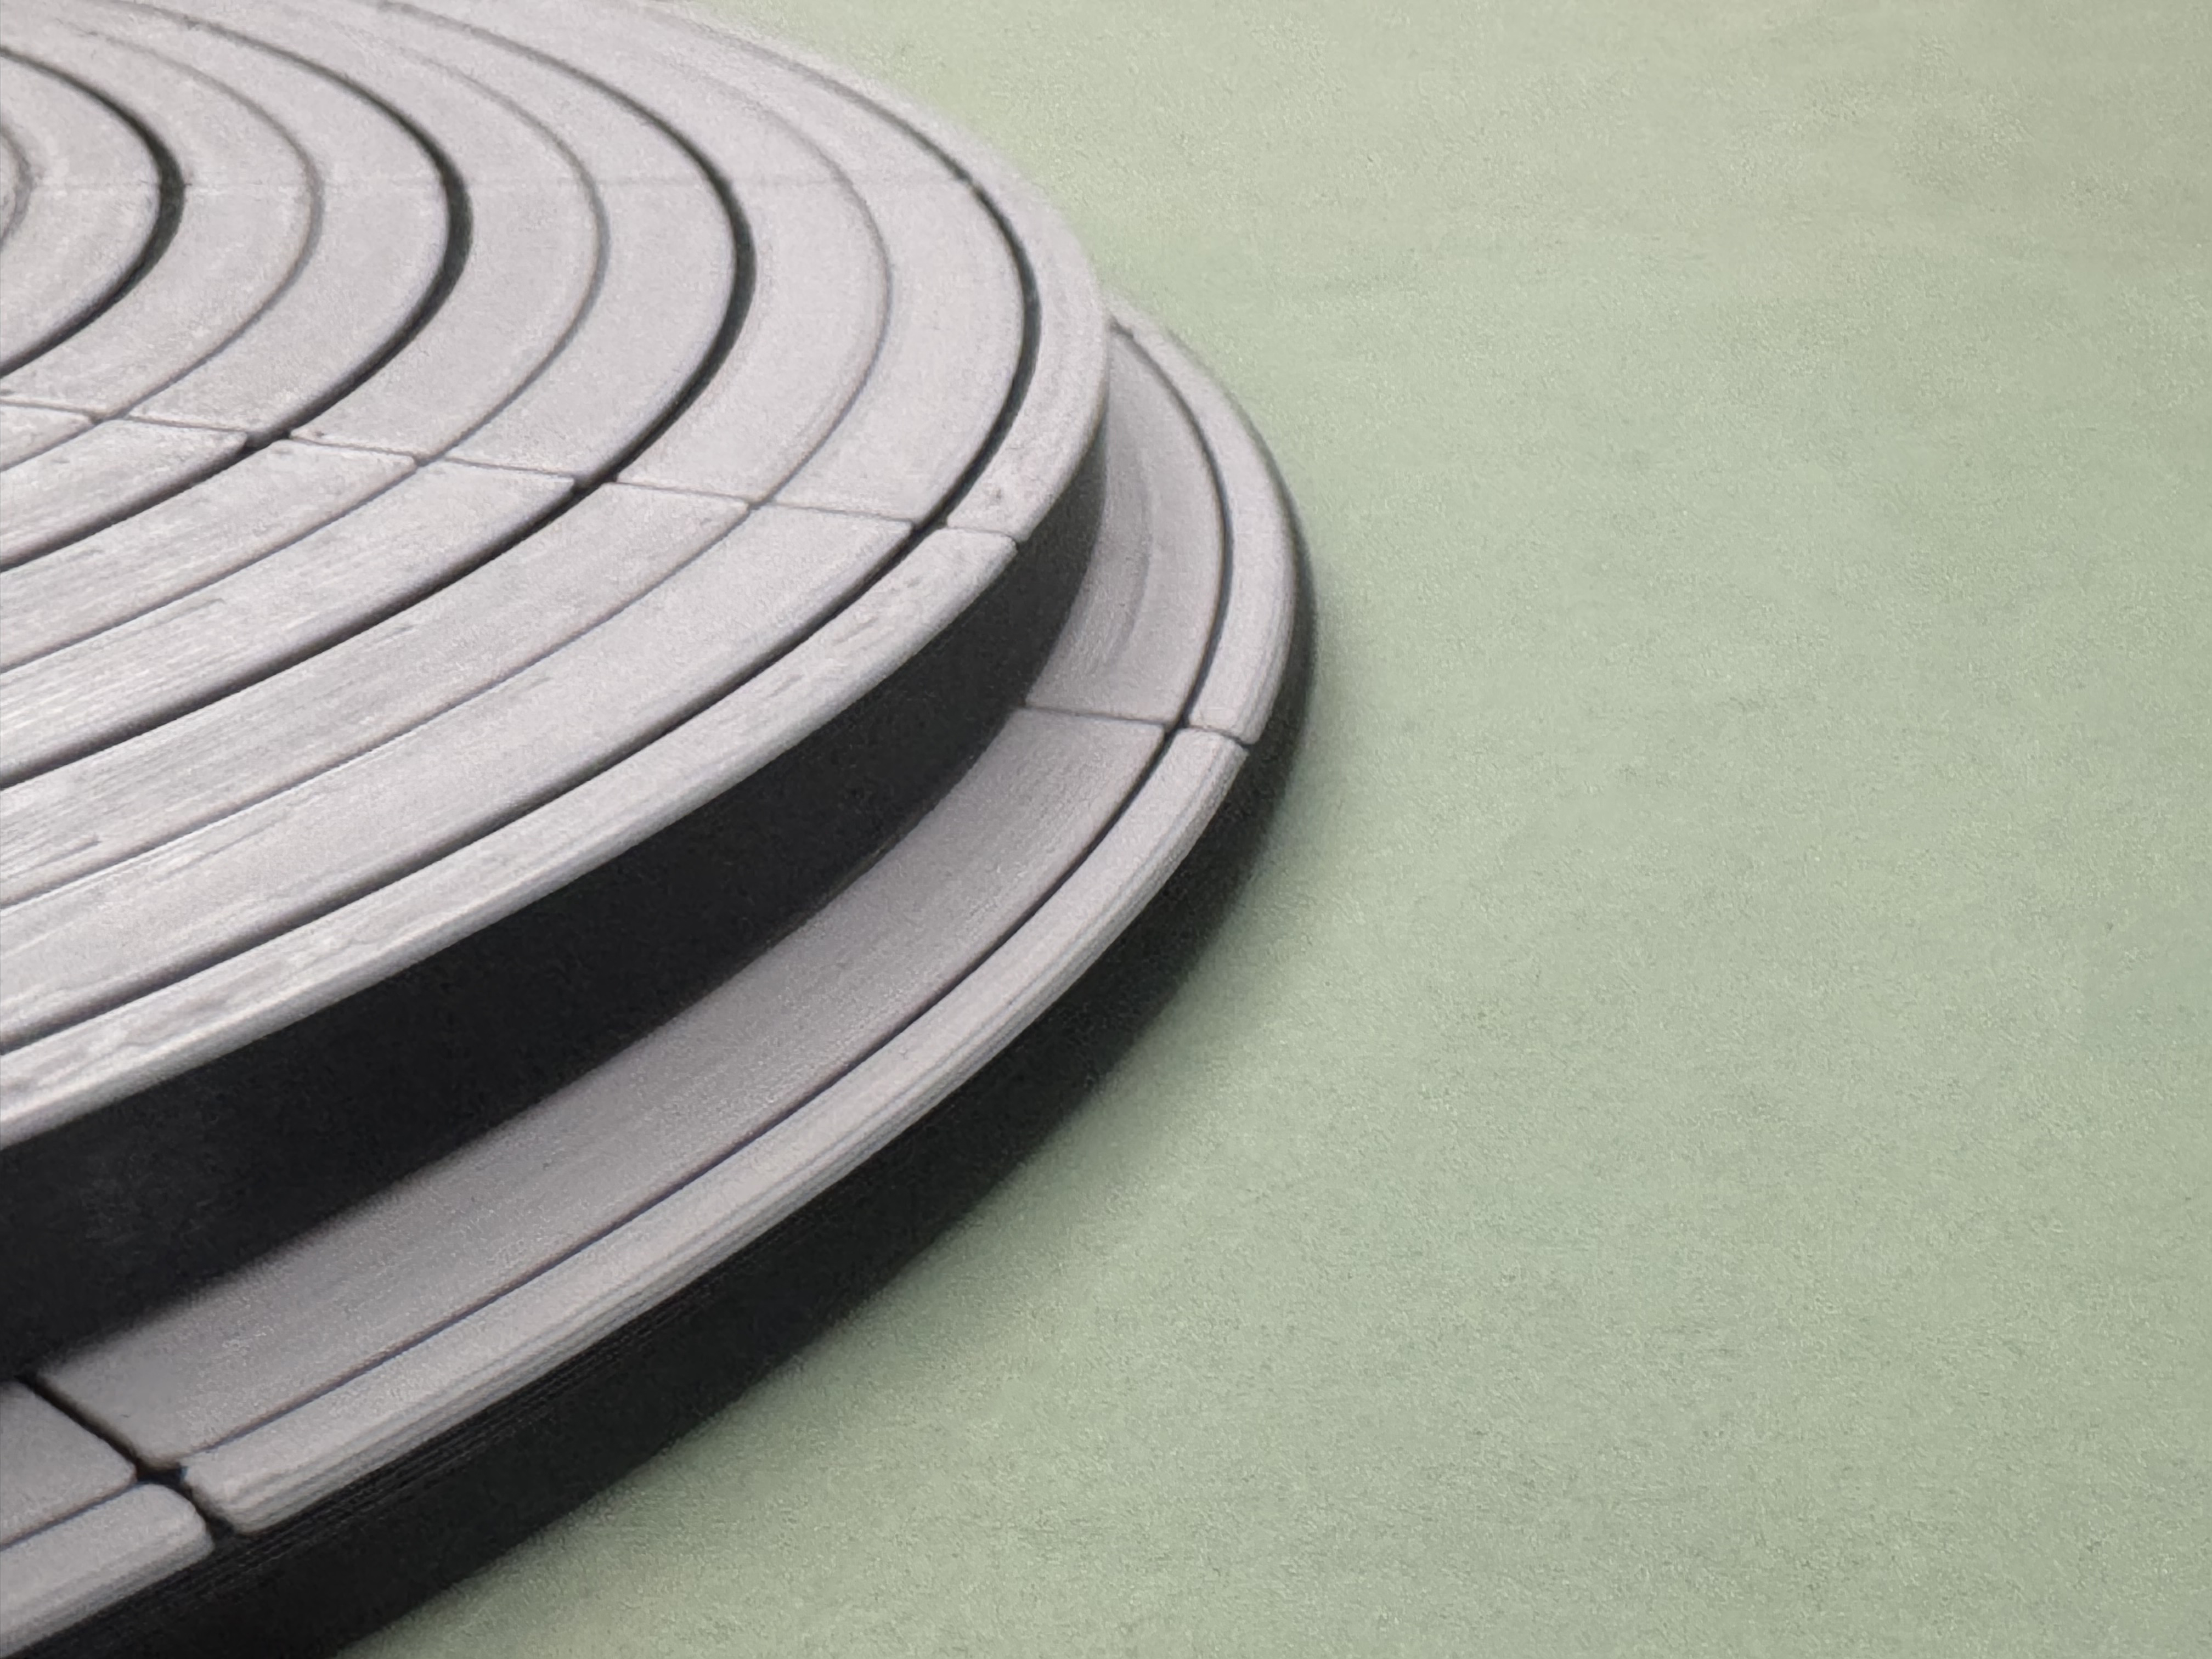
I moved on to my second prototype with a list of revisions to make:
- I needed somewhere to add my company name, the material the template was made of, and the variant of the template.
- My mom wanted the template to be thicker.
- The major grid lines needed to be thicker than the minor grid lines, to increase the visual contrast between them.
- I needed a better setting for the 3D printer for the top layer, to avoid “smooshing” the smaller sections in the center of the template together.

Modifying the 3D model was straightforward and easy, and I printed a second prototype later that same day. I ran into a few more revisions I needed to make, though.
The different setting I’d picked for the top layer didn’t work as expected. In some parts of the print, the nozzle was over-extruding and mashing things together. In other parts, it was under-extruding and leaving gaps. This would take quite a bit of fine tuning before I got results I was happy with.
Because it took nearly a day to print one of these, I decided to try splitting the 3D model into pieces and printing each “pie slice” with different settings. When in doubt, do a small scale test. (Thank you, Mythbusters!)
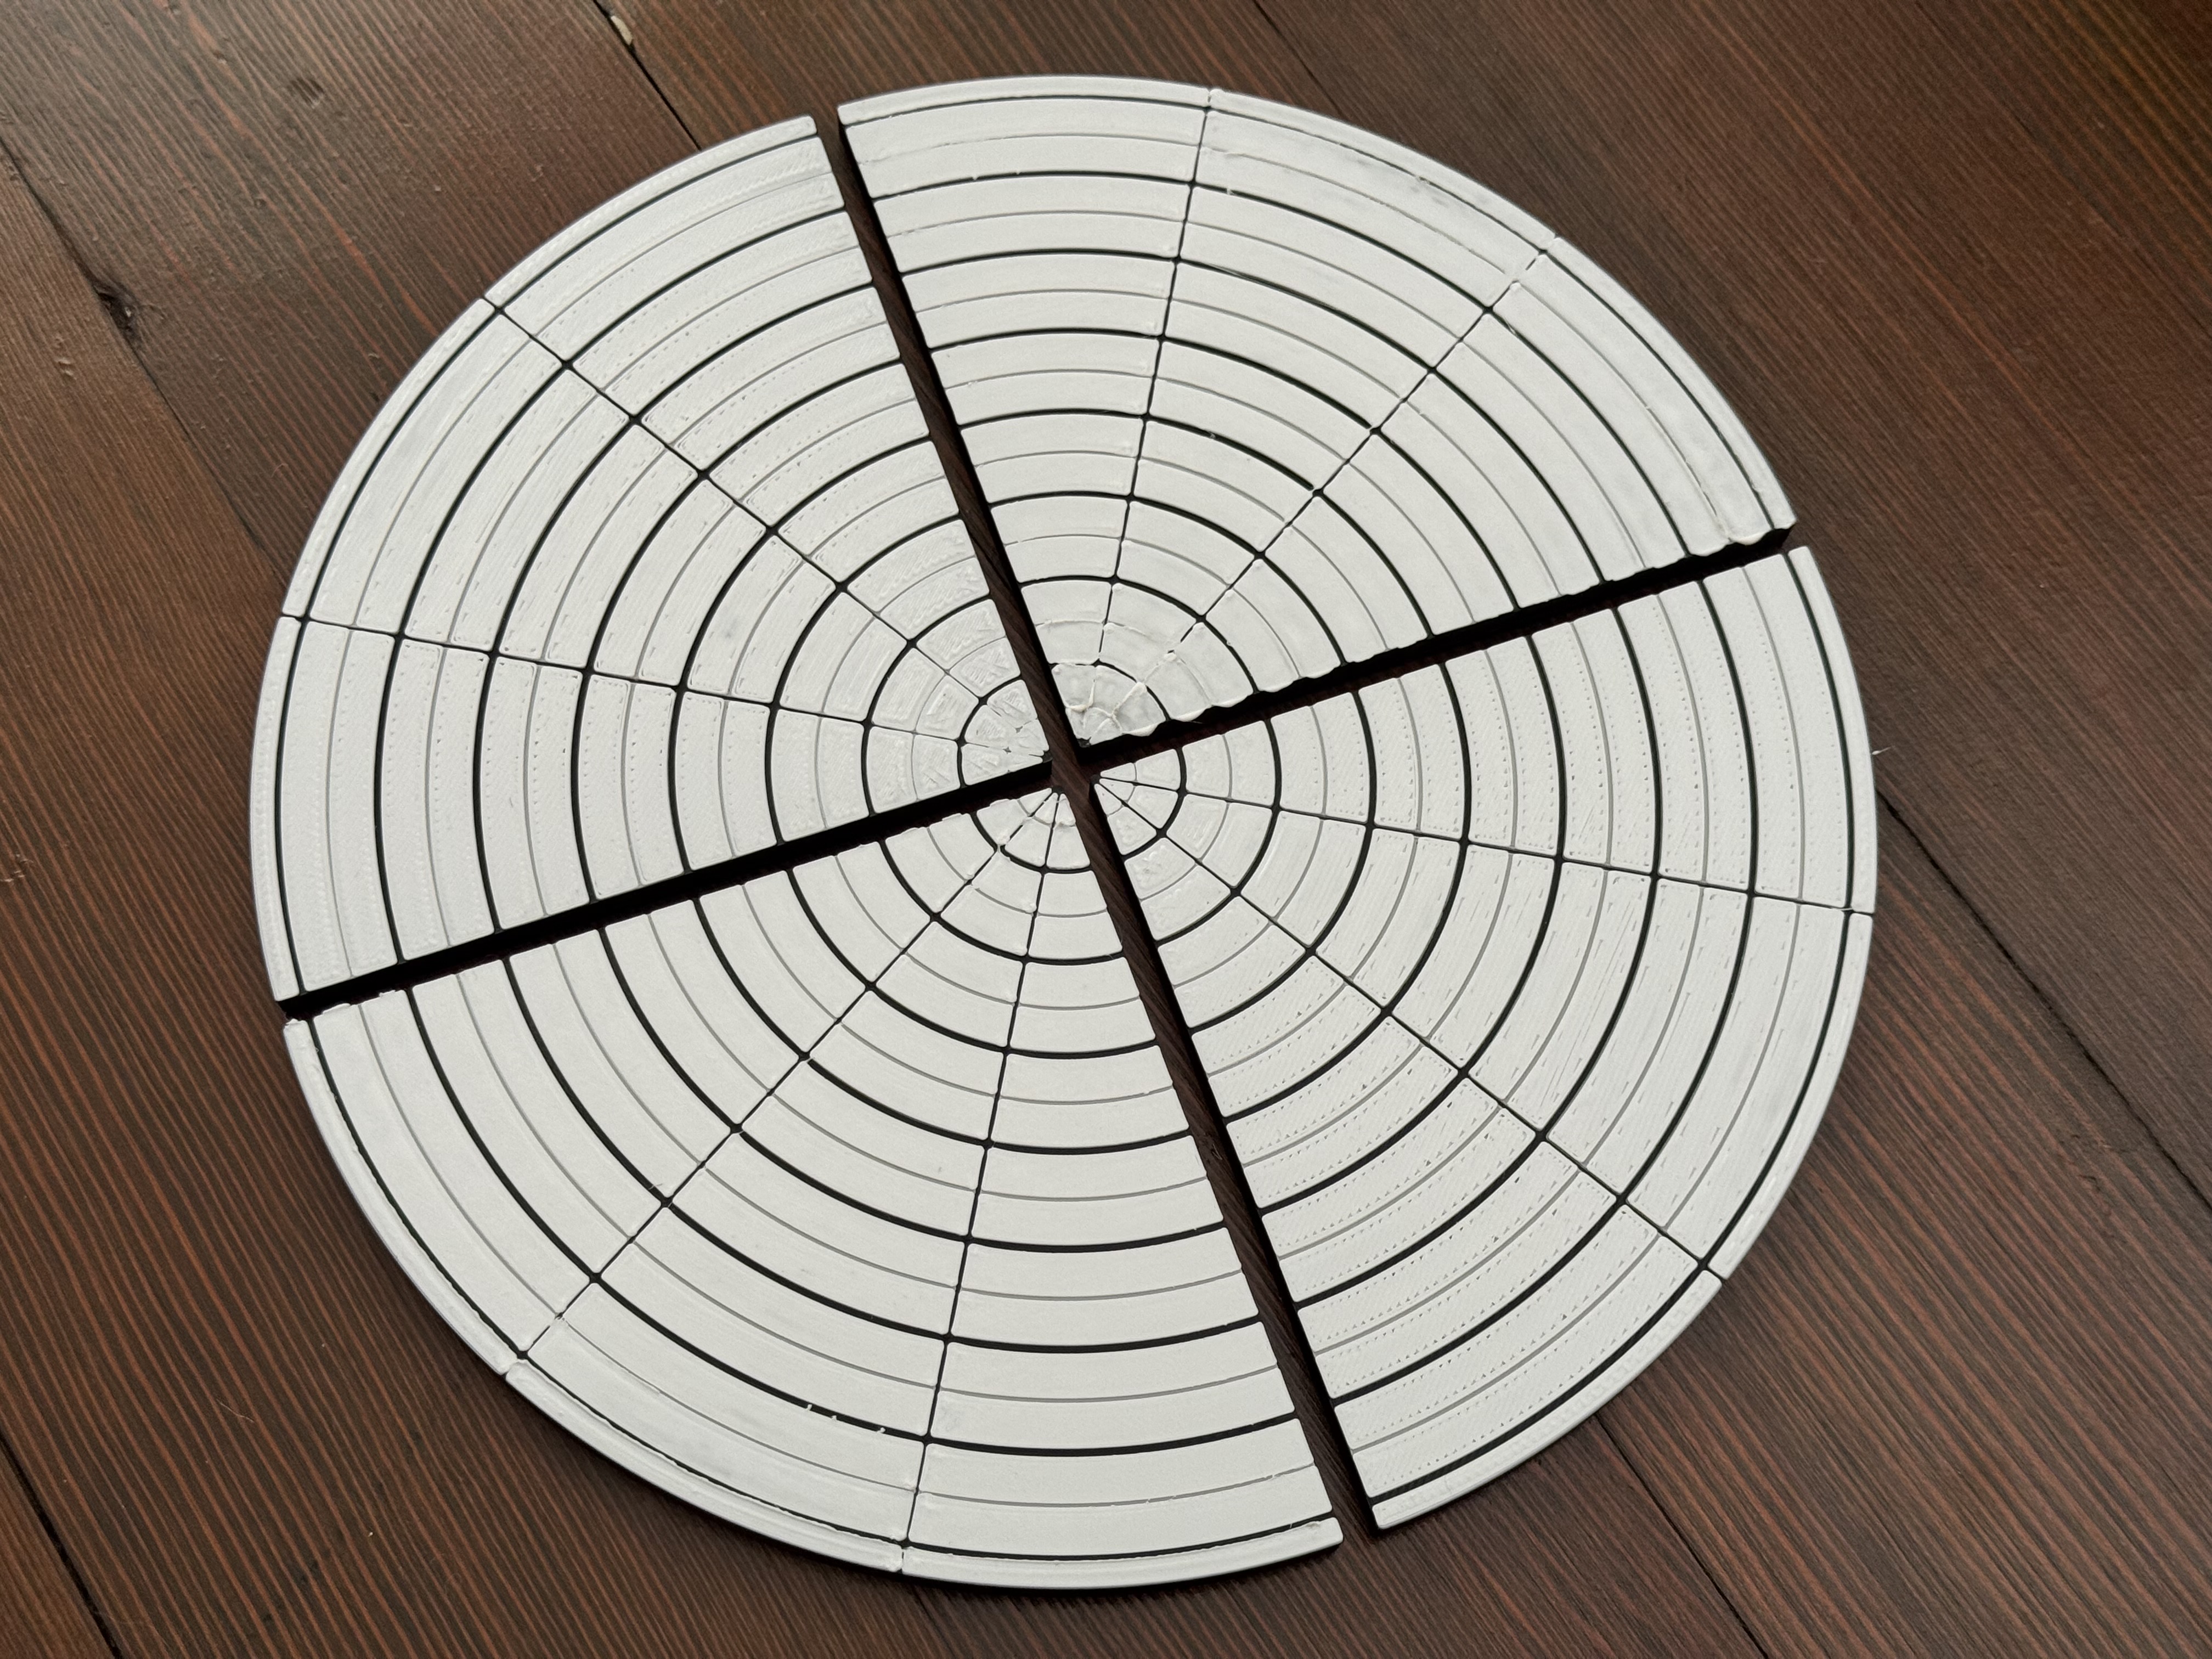
Top left
Printing speed: Standard
Ironing: Off
Top right
Printing speed: Standard
Ironing: Off
Bottom left
Printing speed: Slow
Ironing: On
Bottom right
Printing speed: Slow
Ironing: Off
The two most significant variables seemed to be the printing speed (standard high-speed or slowed down) and whether ironing was turned on. Ironing is a feature of my 3D printing software that takes the heated nozzle on a second pass over the top surface to “iron” out imperfections. It also extrudes a tiny amount of material to fill in any gaps left from the first pass.
I really liked how smooth the surface was on the bottom left test slice, but it still smooshed the top layer in places. Ultimately I decided to go with the bottom right slice’s settings since it was the most reliable and least problematic. The only change I made after that was to use a concentric fill pattern (outside-in spiral) rather than a rectilinear pattern (back-and-forth lines).
The finished product


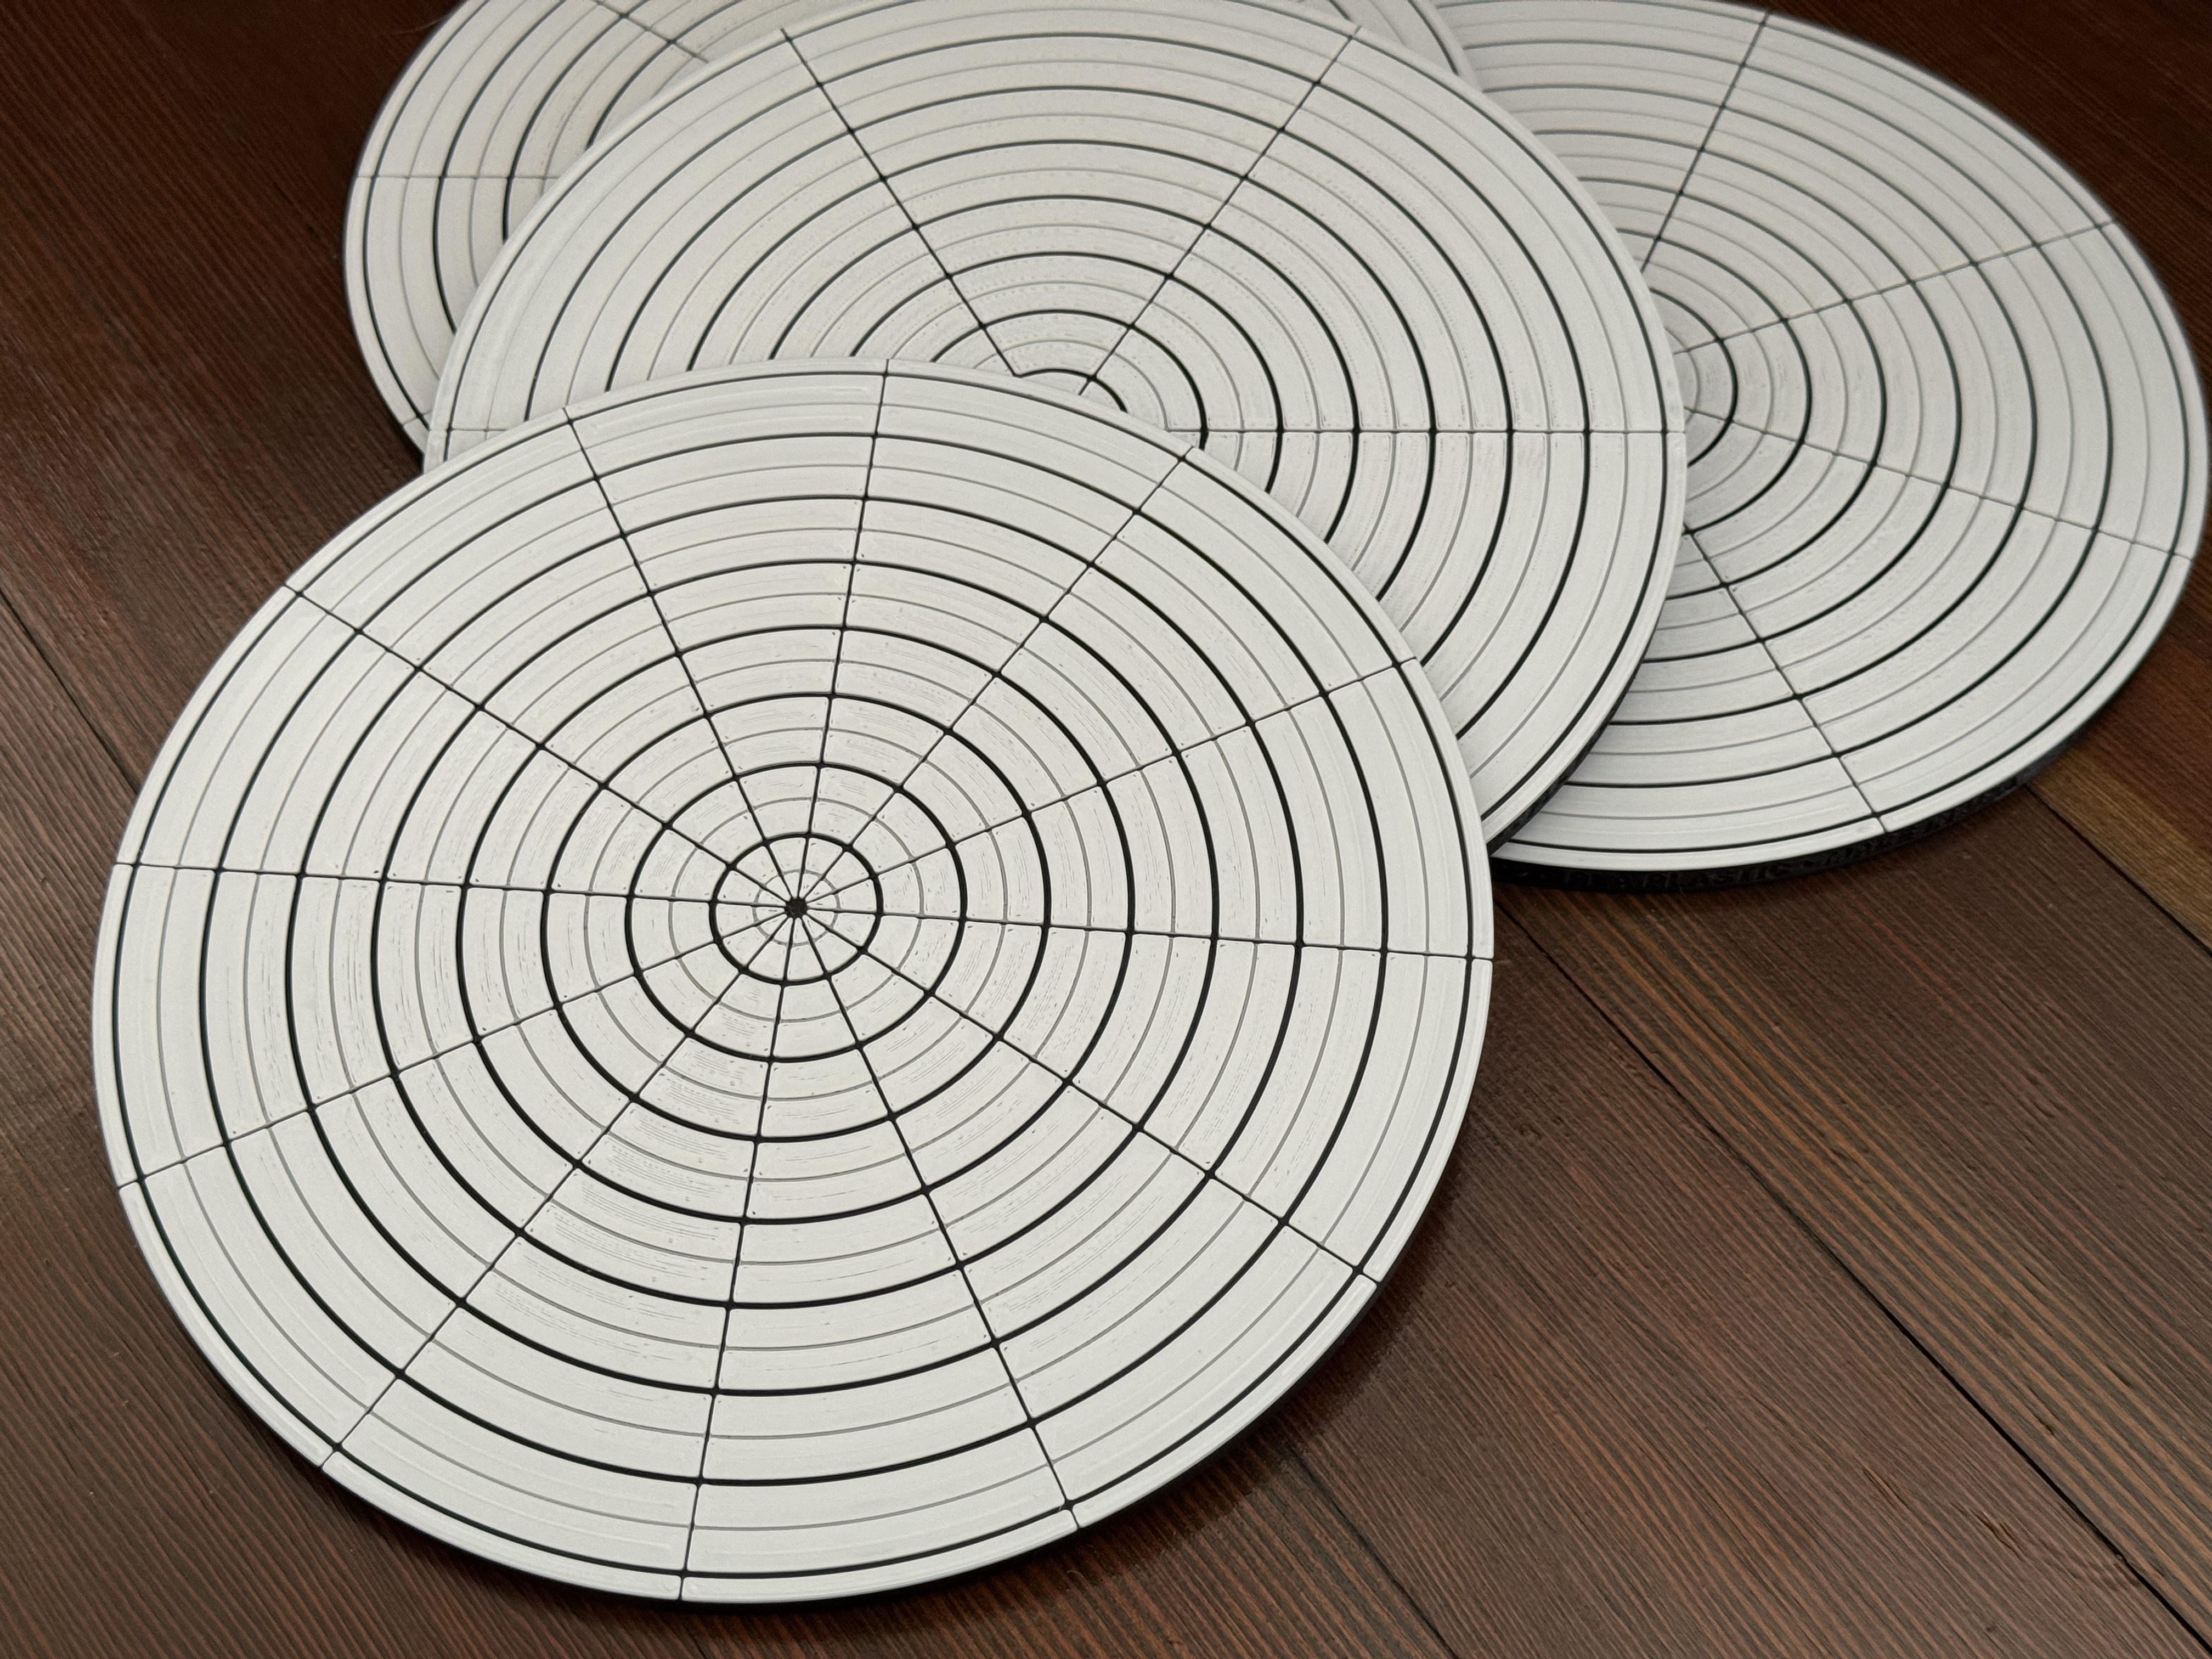
In the end, I made four variants:
- 6 rays
- 8 rays
- 10 rays
- 12 rays
My mom was thrilled with the end result, and I decided to offer the polar grid templates as a product on my online shop.